VPN - Technology
Steps for Adding the New VPN Portal (if GlobalProtect is already installed)
Don't have GlobalProtect already installed? Go to the next section.
- Open the GlobalProtect app and click on the menu icon at the upper right. Select Settings.
- On the "General" tab under Portals click on the Add or + button, and add vpn.nps.edu then Save. Close the Settings window.
- On the GlobalProtect app select the vpn.nps.edu portal in the dropdown.
- Click Connect
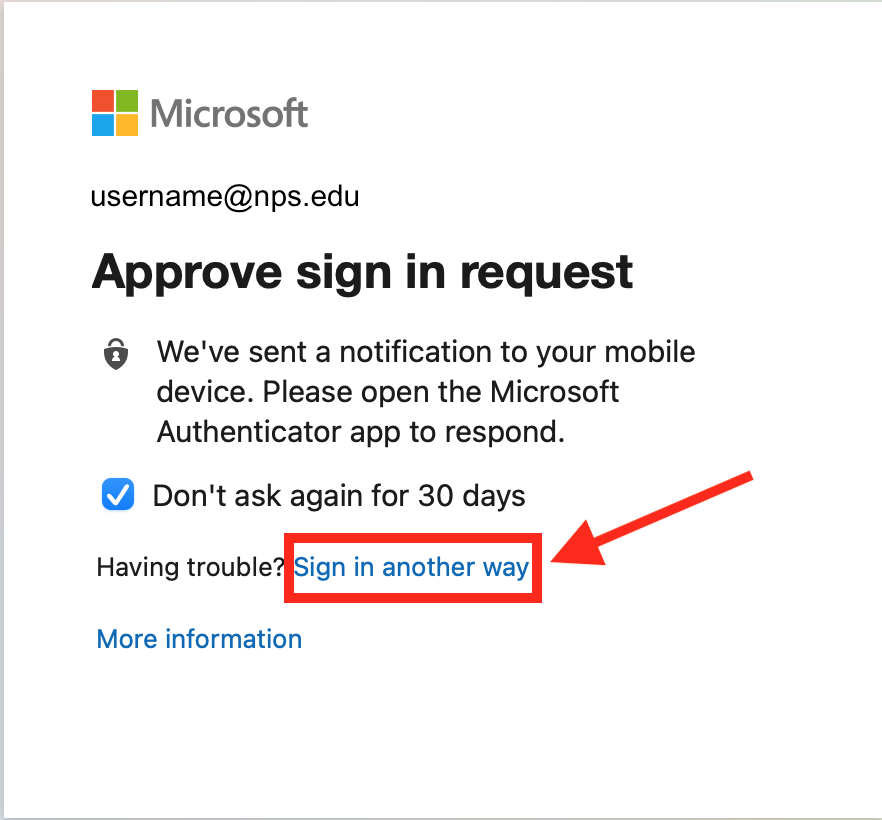
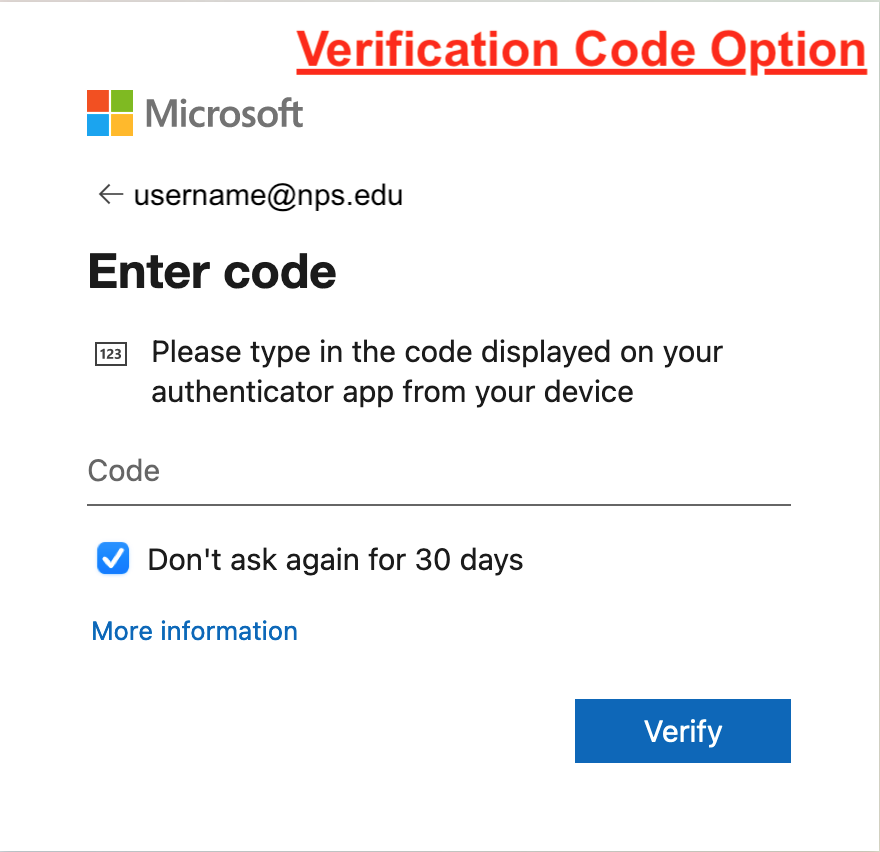
- A window will pop up to sign into Microsoft with Microsoft MFA.
More information about setting up MFA can be found on the multi-factor authentication page.
Steps for Installing and Accessing GlobalProtect VPN
PLEASE READ
The VPN uses Microsoft multi-factor authentication. You must have SECURE YOUR ACCOUNT with MFA set up. Enroll a device in the MFA Self Enrollment Portal. More details on enrollment here.
-
This step is required before proceeding! Have SECURE YOUR ACCOUNT with MFA set up. Enroll a device in the MFA Self Enrollment Portal. More details on enrollment here.
-
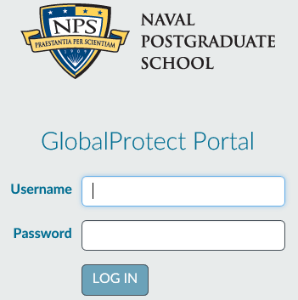
Only continue if you completed step 1! Click or enter the following link in your browser: https://vpn.nps.edu. Note: If you get a certificate error message, you should install DoD trust certificates (instructions here).
-
Enter your NPS username (not the whole email) and password. Click LOG IN.
-
You will receive a Microsoft MFA request for second factor authentication. WARNING: If you did not request two factor authentication, then an attacker may be trying to gain access to NPS resources. Report it as fraud! Deny the request! Change your password for safety precautions.
-
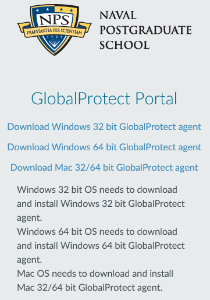
After Microsoft MFA authenticating you will be prompted to download the proper package for your device. You may close this window after the download is complete.
* If you are using Windows 32 bit, click Download Windows 32 bit GlobalProtect agent.
* If you are using Windows 64 bit, click Download Windows 64 bit GlobalProtect agent.
Don't know if your Windows is 32 bit or 64 bit? Try Microsoft's instructions to find out here.
-
If you receive this message, click Keep.

-
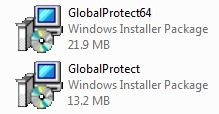
It is by default named GlobalProtect.msi or GlobalProtect64.msi depending on if you downloaded the 32-bit or 64-bit version. Double click on the download.
-
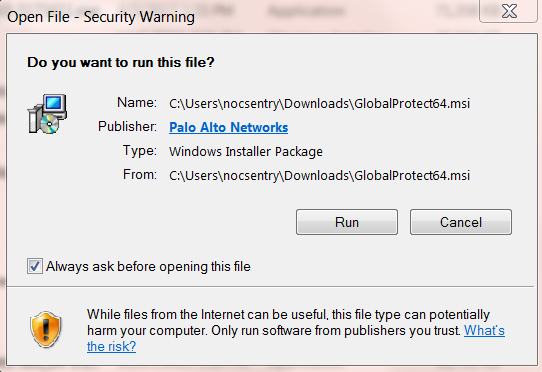
You may or may not be prompted to run Global Protect. Click Run. If you do not have administrative rights on the desktop/laptop (you will be informed after trying to run it) and it is owned by NPS, contact the TAC.
-
Click Next.

-
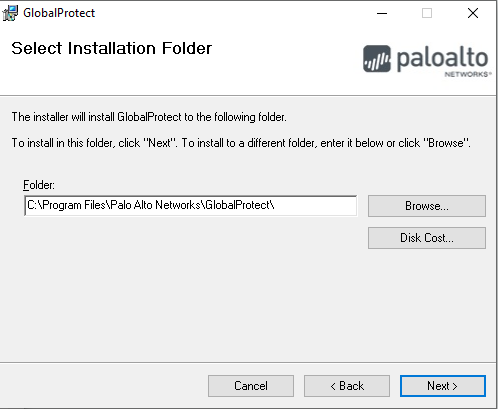
The default location is recommended. Click Next.
-
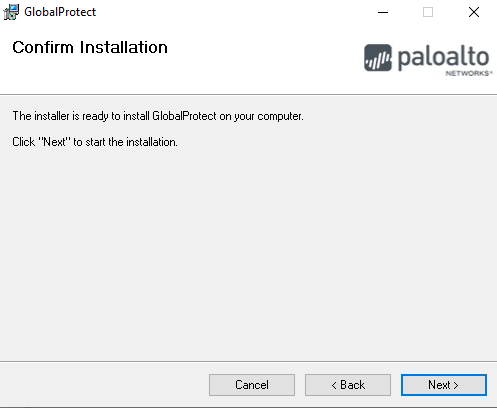
Click Next.
-
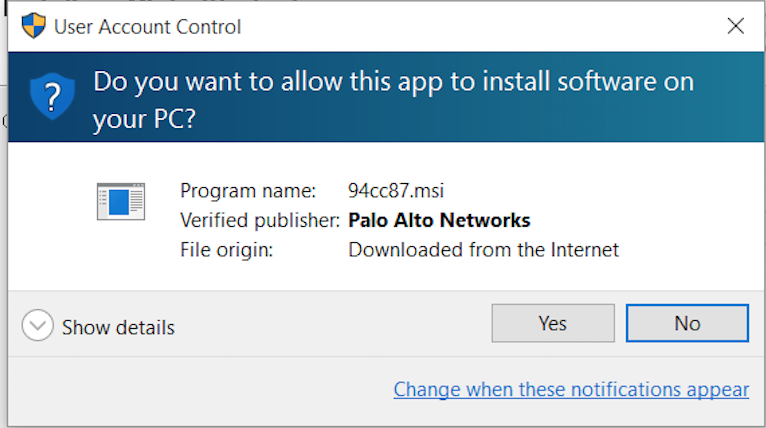
You may or may not have a prompt asking to allow the software on your PC. Click Yes.
-
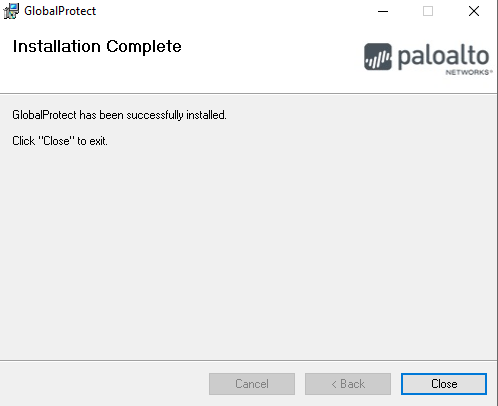
Click Close.
-
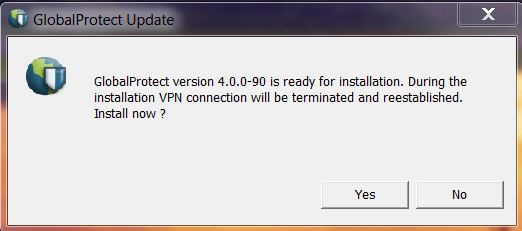
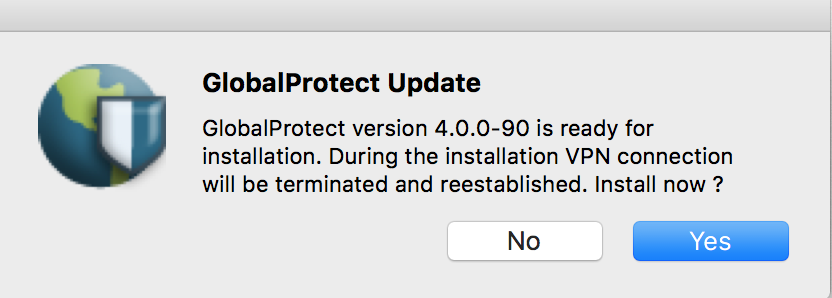
To access GlobalProtect, you may search for it after clicking the Windows key on your keyboard. A window may or may not pop up to verify you have the latest GlobalProtect version. Always upgrade it! Click Yes on both. Note: You will no longer have to go through the previous steps to install GlobalProtect on your device, however, you do for each additional device.

-
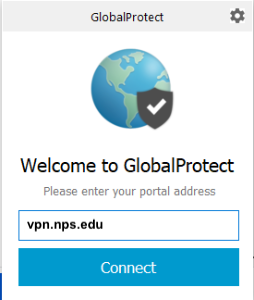
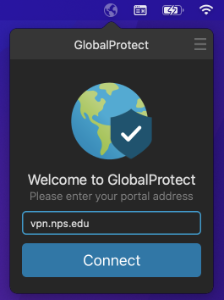
Enter vpn.nps.edu into the portal section. Click Connect.
-
A Microsoft login window will appear. Enter your NPS username and password. Click Login.
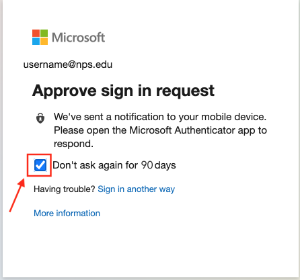
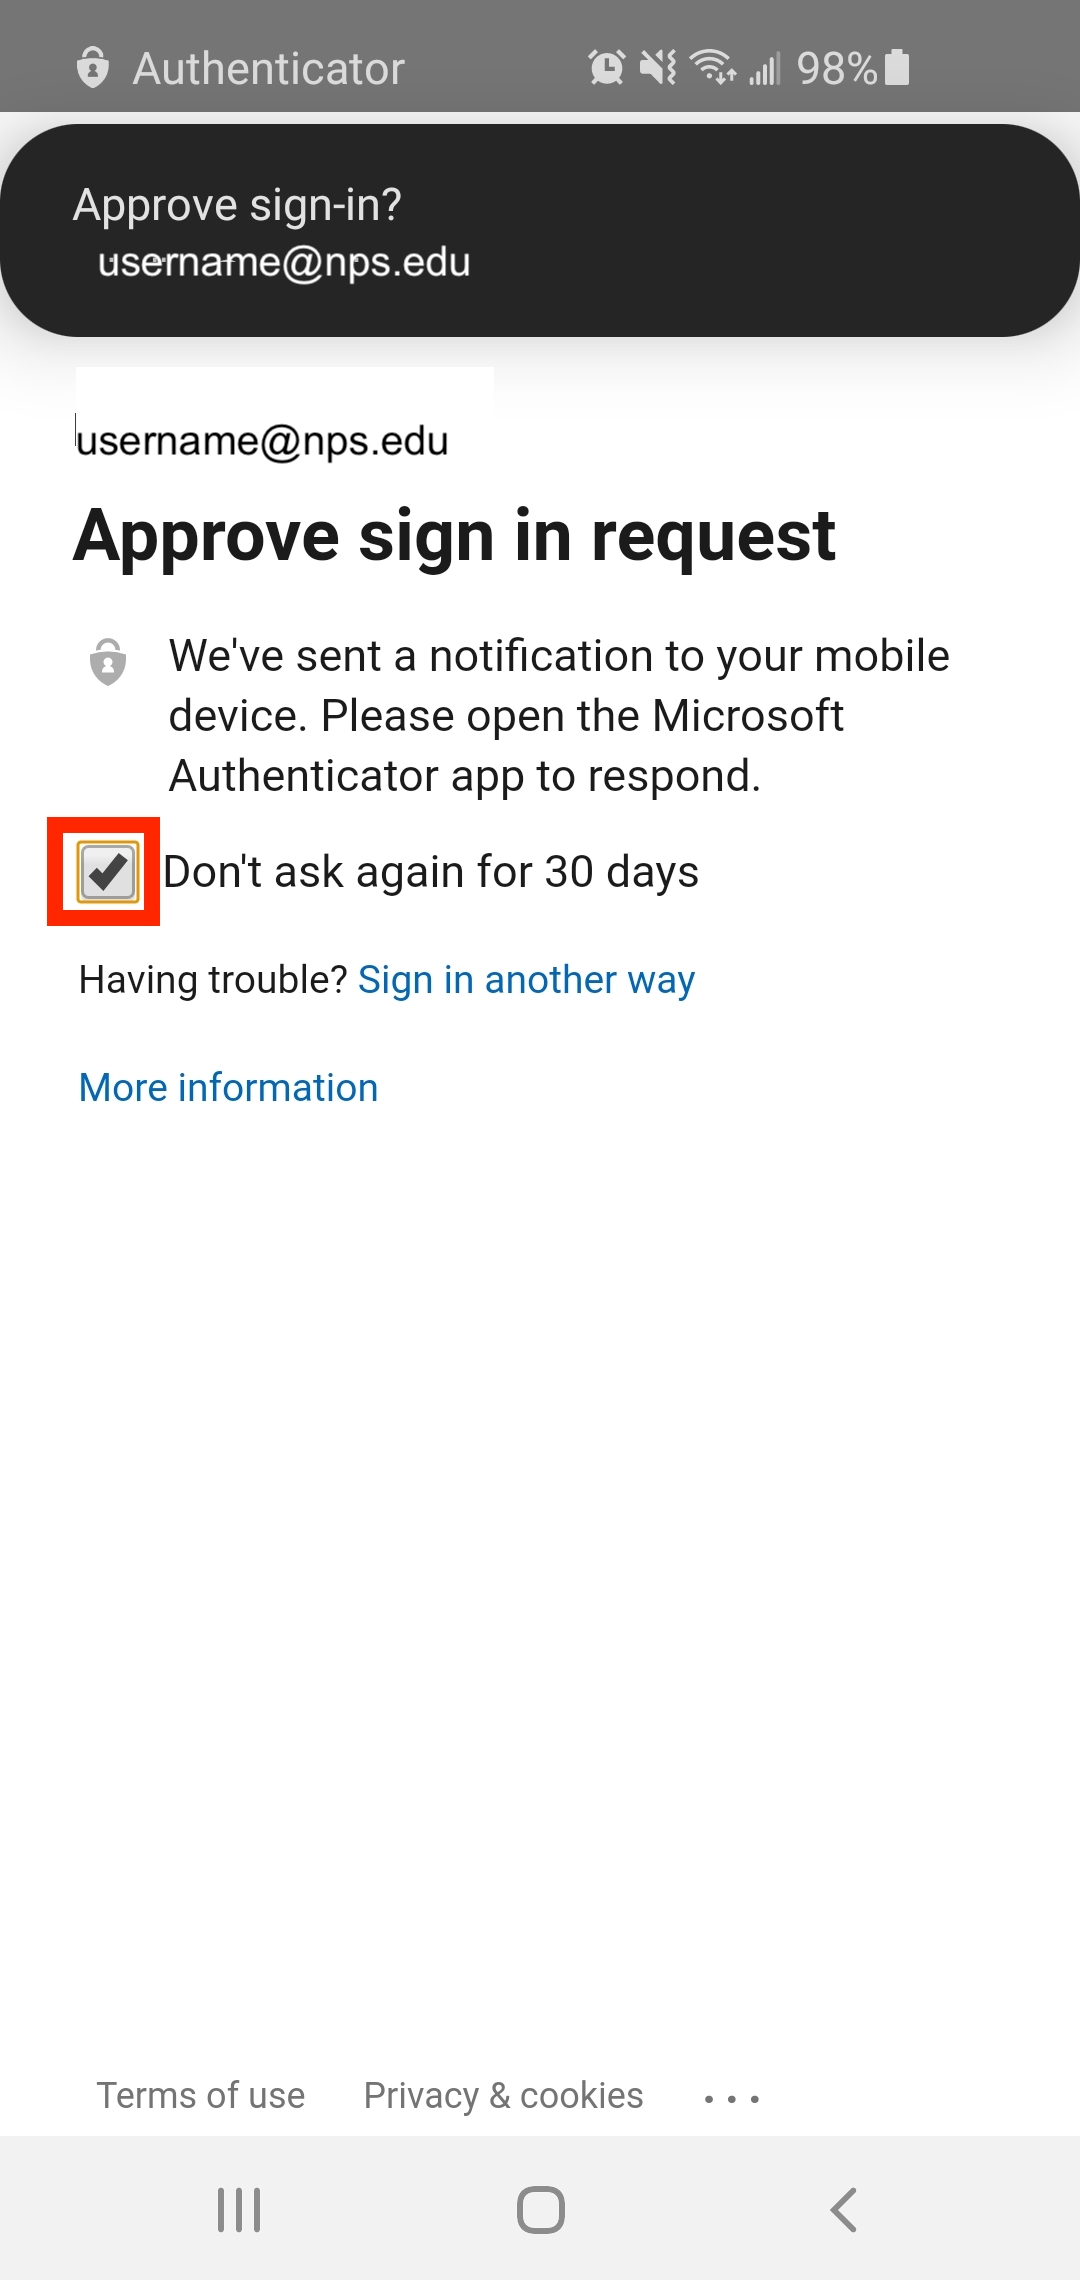
- Check the box that says Don't ask again for X days, then accept your Microsoft MFA request. Note: Press Accept only if you made this request. Otherwise Deny.
-
A window will pop up showing you are now connected to GlobalProtect. Note: The standard DoD Disclaimer window will appear. Closing the disclaimer window will not disconnect you from GlobalProtect.
- The connection status window at the lower-right will change from "Connecting" to "Secured" when the connection is complete. You may now access NPS internal resources.
-
To stop using the VPN service, close your VPN session by clicking Disconnect on GlobalProtect.
-
This step is required before proceeding! Have SECURE YOUR ACCOUNT with MFA set up. Enroll a device in the MFA Self Enrollment Portal. More details on enrollment here.
-
Only continue if you completed step 1! Click or enter the following link in your browser: https://vpn.nps.edu. Enter your NPS credentials. Note: If you get a certificate error message, you should install DoD trust certificates (instructions here).
-
You will receive a Microsoft MFA request for second factor authentication. WARNING: If you did not request two factor authentication, then an attacker may be trying to gain access to NPS resources. Report it as fraud! Deny the request! Change your password for safety precautions.
-
After Microsoft MFA authenticating you will be prompted to download the proper package for your device. Click Download Mac 32/64 bit GlobalProtect agent. You may close this window after the download is complete.
-
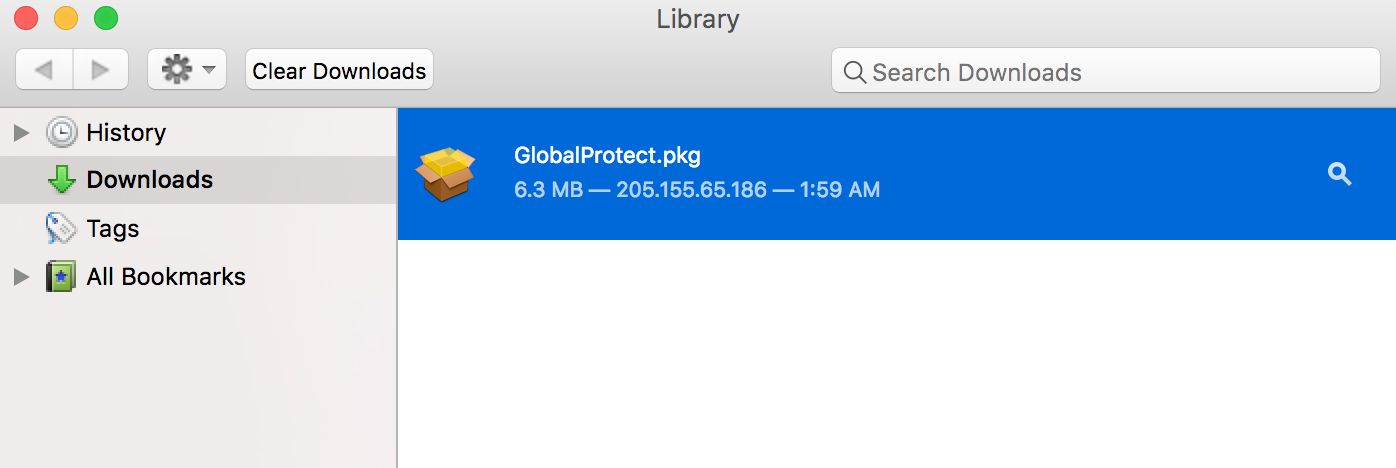
Save the package. It is by default named GlobalProtect.pkg.

-
Double click or control-click on GlobalProtect.pkg.
-
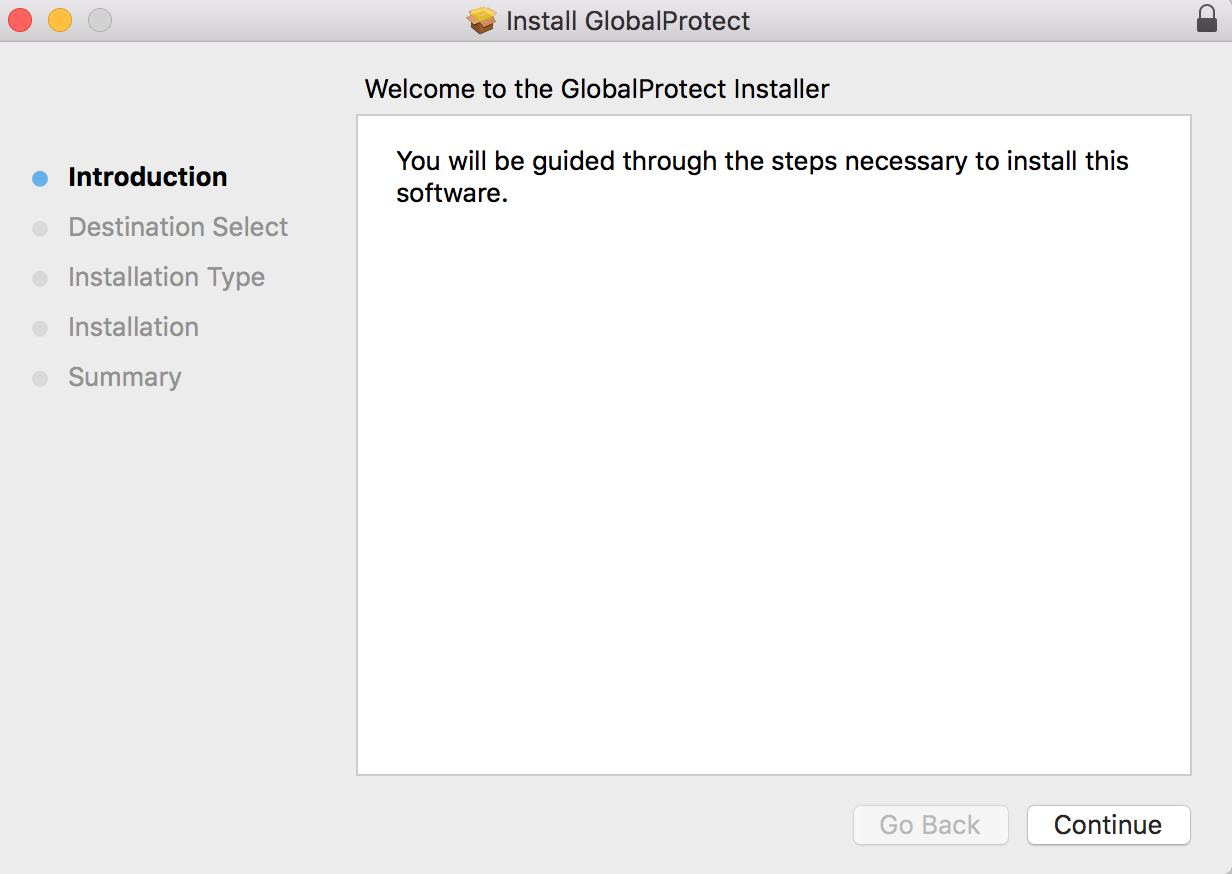
You will be prompted to install Global Protect. Click Continue. If you do not have administrative rights on the desktop/laptop (you will be informed after trying to install it) and it is owned by NPS, contact the TAC.
-
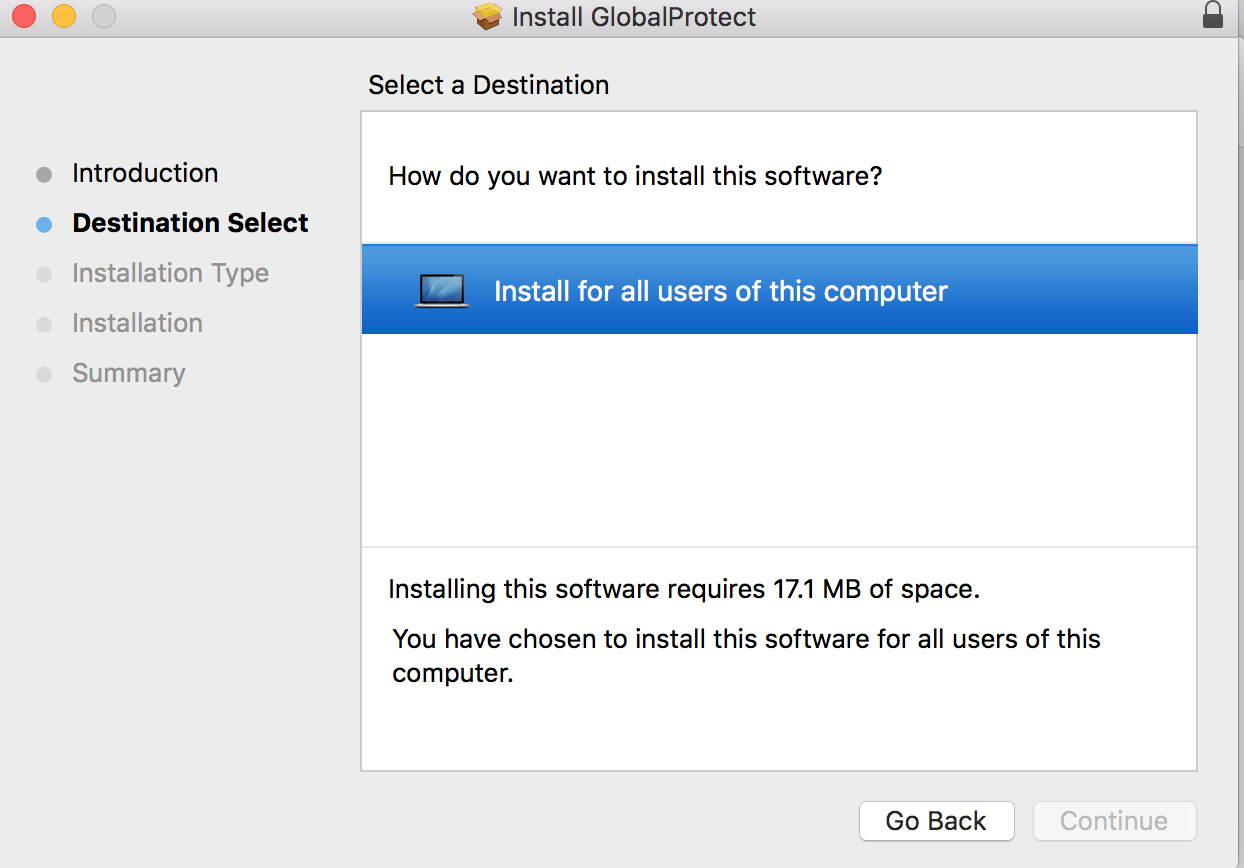
Click on Install for all users of this computer. Click Continue.
-
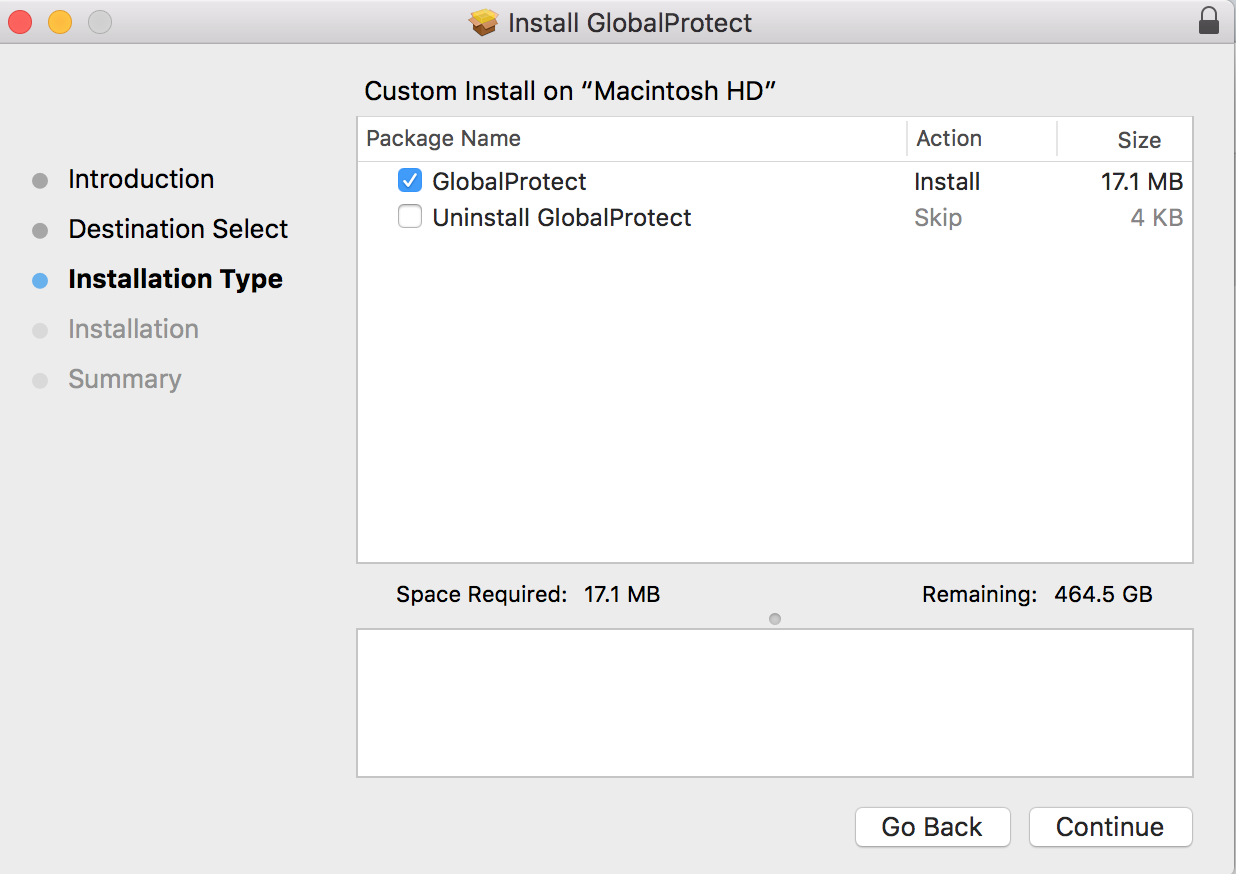
Check GlobalProtect. Click Continue.
-
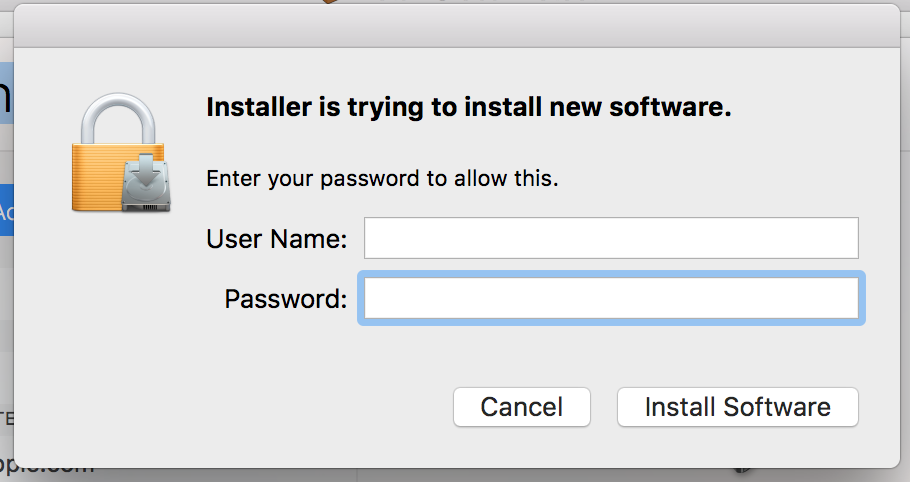
You may be prompted to login with your machine's username and password (not your NPS username and password) to allow the software to make changes to your machine.
-
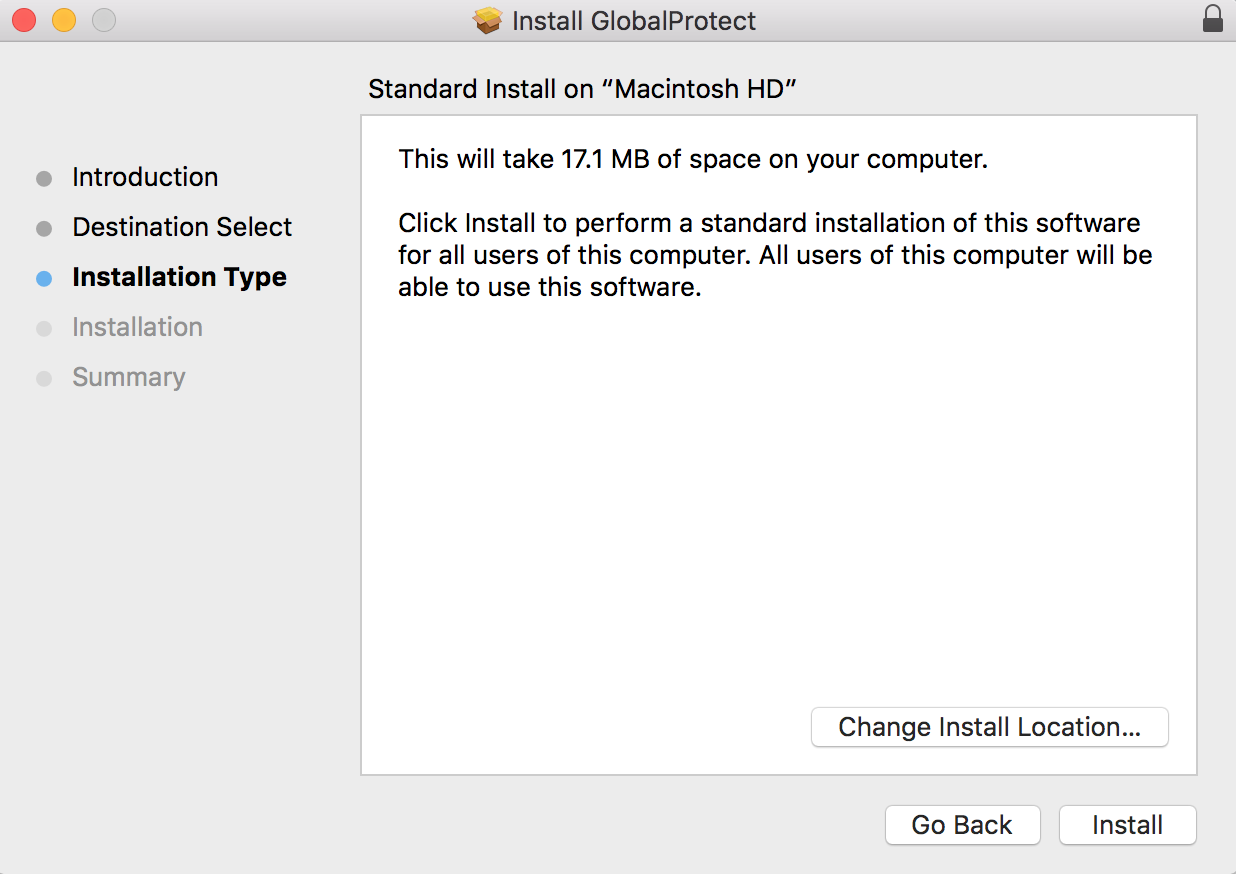
Click Install.
-
GlobalProtect can be accessed by clicking on the globe icon on the top of your screen. You may be prompted to upgrade the GlobalProtect version. Always upgrade it! Note: You will no longer have to go through the previous steps to install GlobalProtect on your device, however, you do for each additional device. Current version is 5.2.8-23. Please update if prompted.

-
Enter vpn.nps.edu into the portal section. Click Connect.
-
A Microsoft login window will appear. Enter your NPS username and password. Click Login.
-
Check the box that says Don't ask again for X days, then accept your Microsoft MFA request. Note: Press Accept only if you made this request. Otherwise Deny.
-
A window will pop up showing you are now connected to GlobalProtect. Note: The standard DoD Disclaimer window will appear. Closing the disclaimer window will not disconnect you from GlobalProtect.
- The connection status window at the lower-right will change from "Connecting" to "Secured" when the connection is complete. You may now access NPS internal resources.
-
To stop using the VPN service, close your VPN session by clicking Disconnect on GlobalProtect.
- This step is required before proceeding! Have SECURE YOUR ACCOUNT with MFA set up. Enroll a device in the MFA Self Enrollment Portal. More details on enrollment here.
Use Safari Browser App on iPhone or iPad!
-
Download the DoD Root CA 3 cert here: DoD Root CA 3.cer.
-
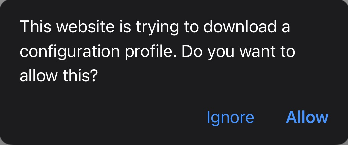
Tap Allow to download configuration profile.
-
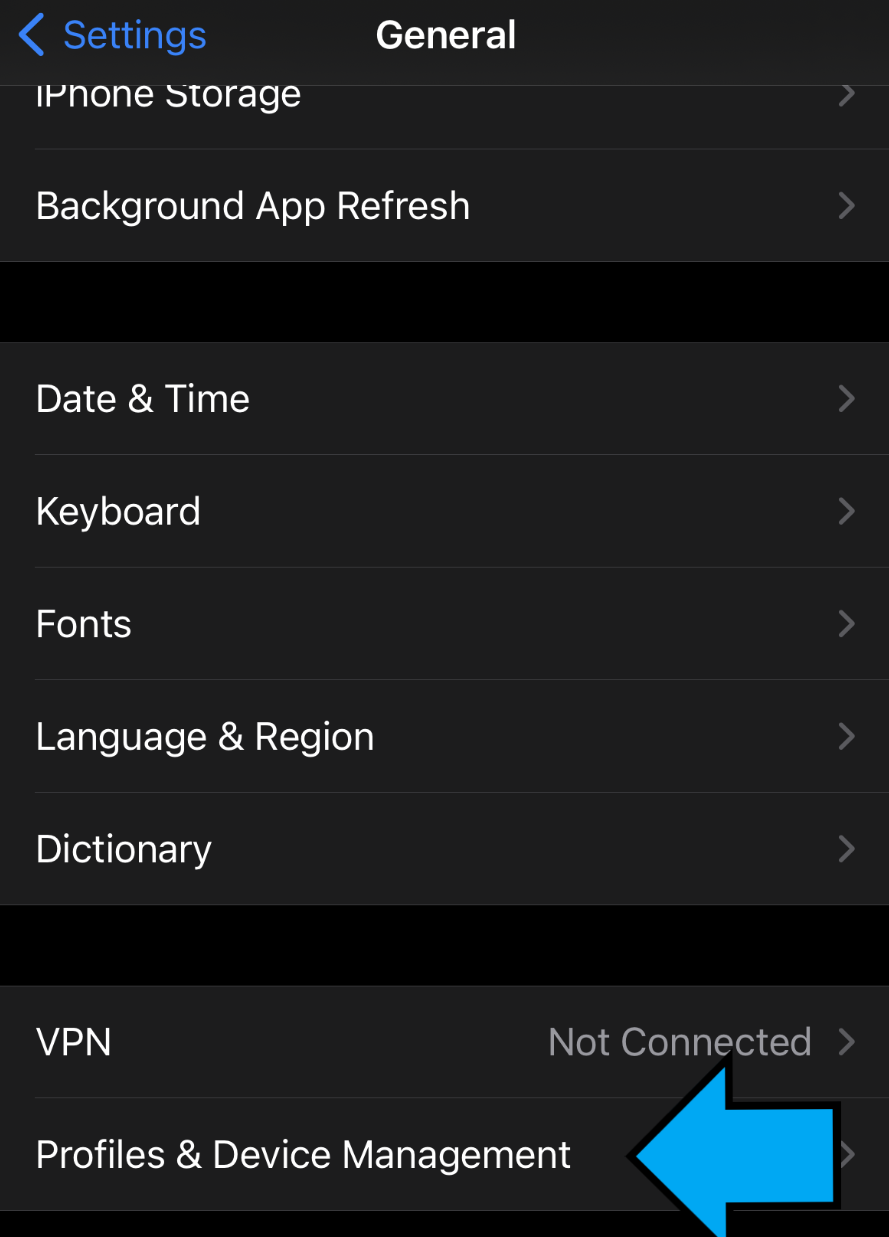
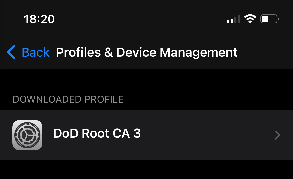
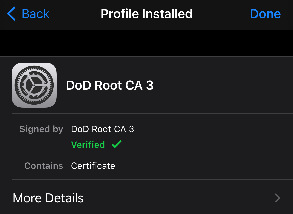
Go to Settings > General > Profiles and Device Management and tap on DoD Root CA 3.
-
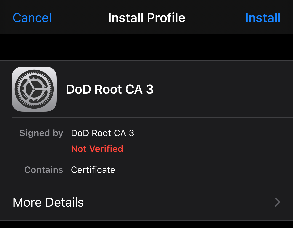
Tap Install and enter your passcode if asked.
-
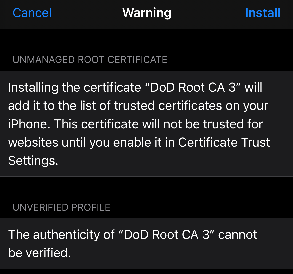
Tap Install 2x to install certificate.
-
Tap Done on top right
-
Go back to Settings > General > About > Certificate Trust Settings.
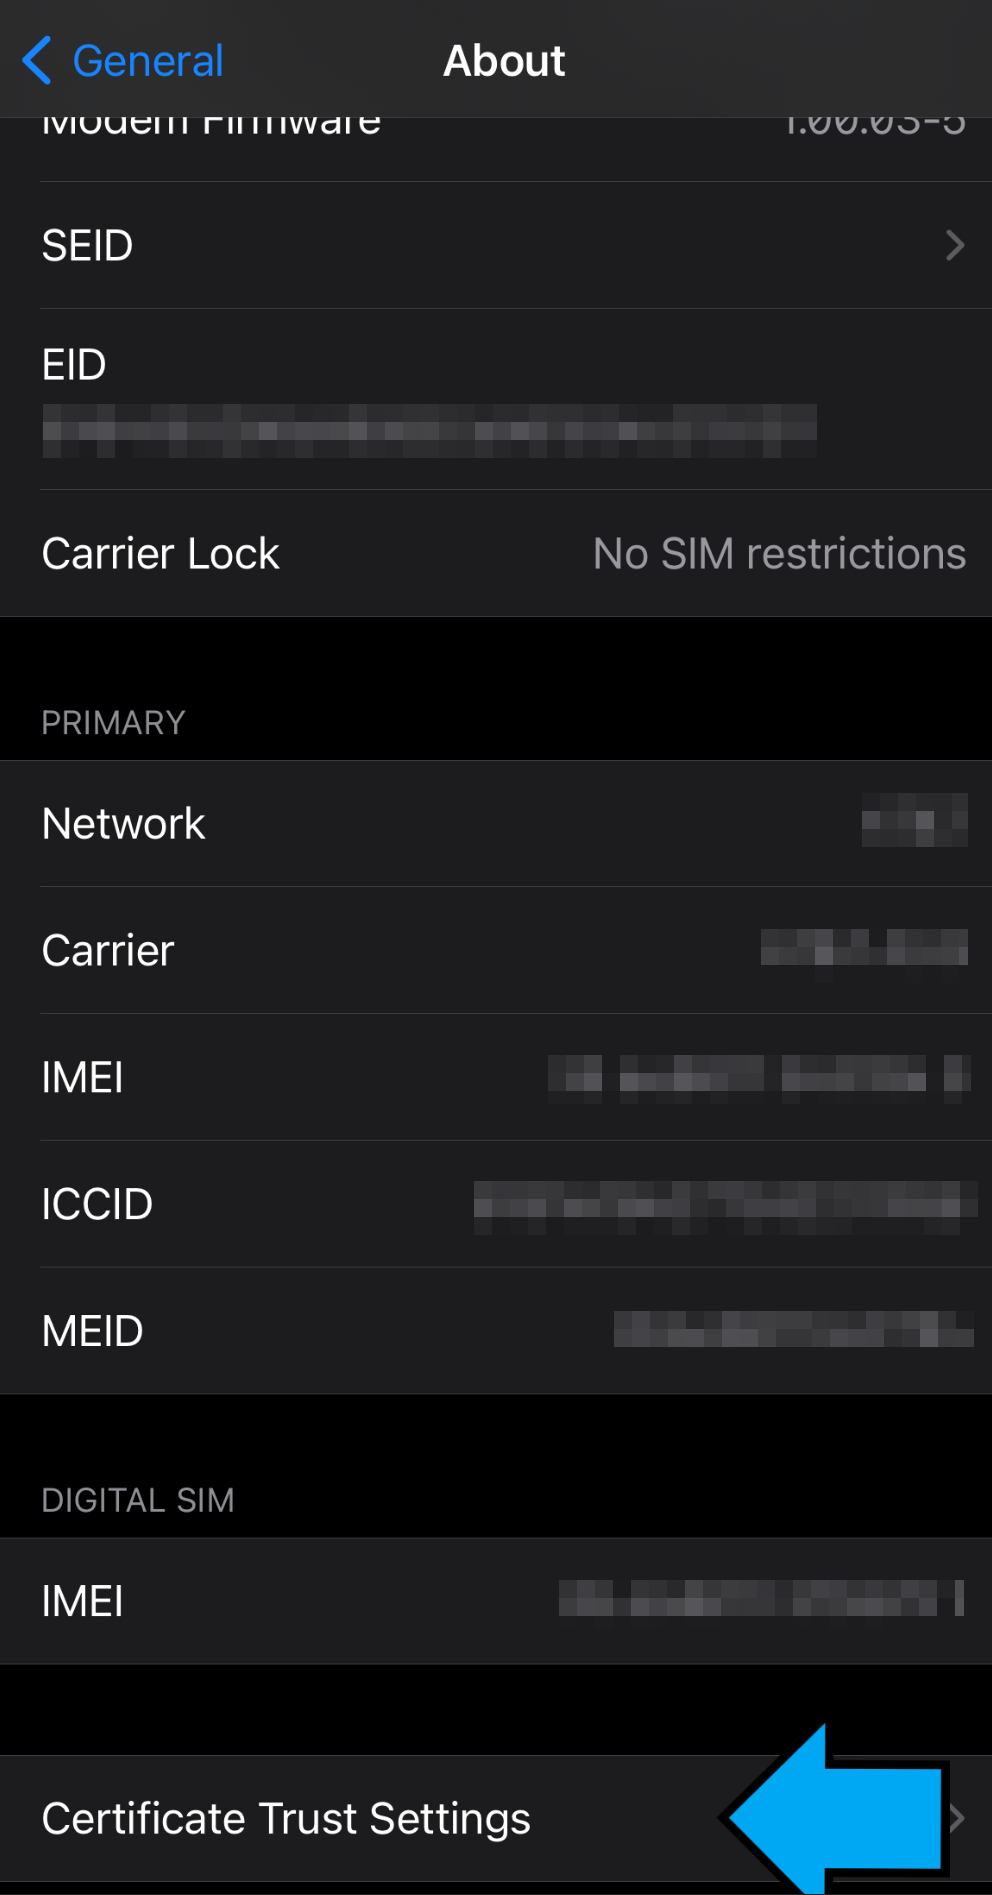
-
Toggle on DoD Root CA 3 and click Continue.

- Download and run the VPN Client App here: GlobalProtect.
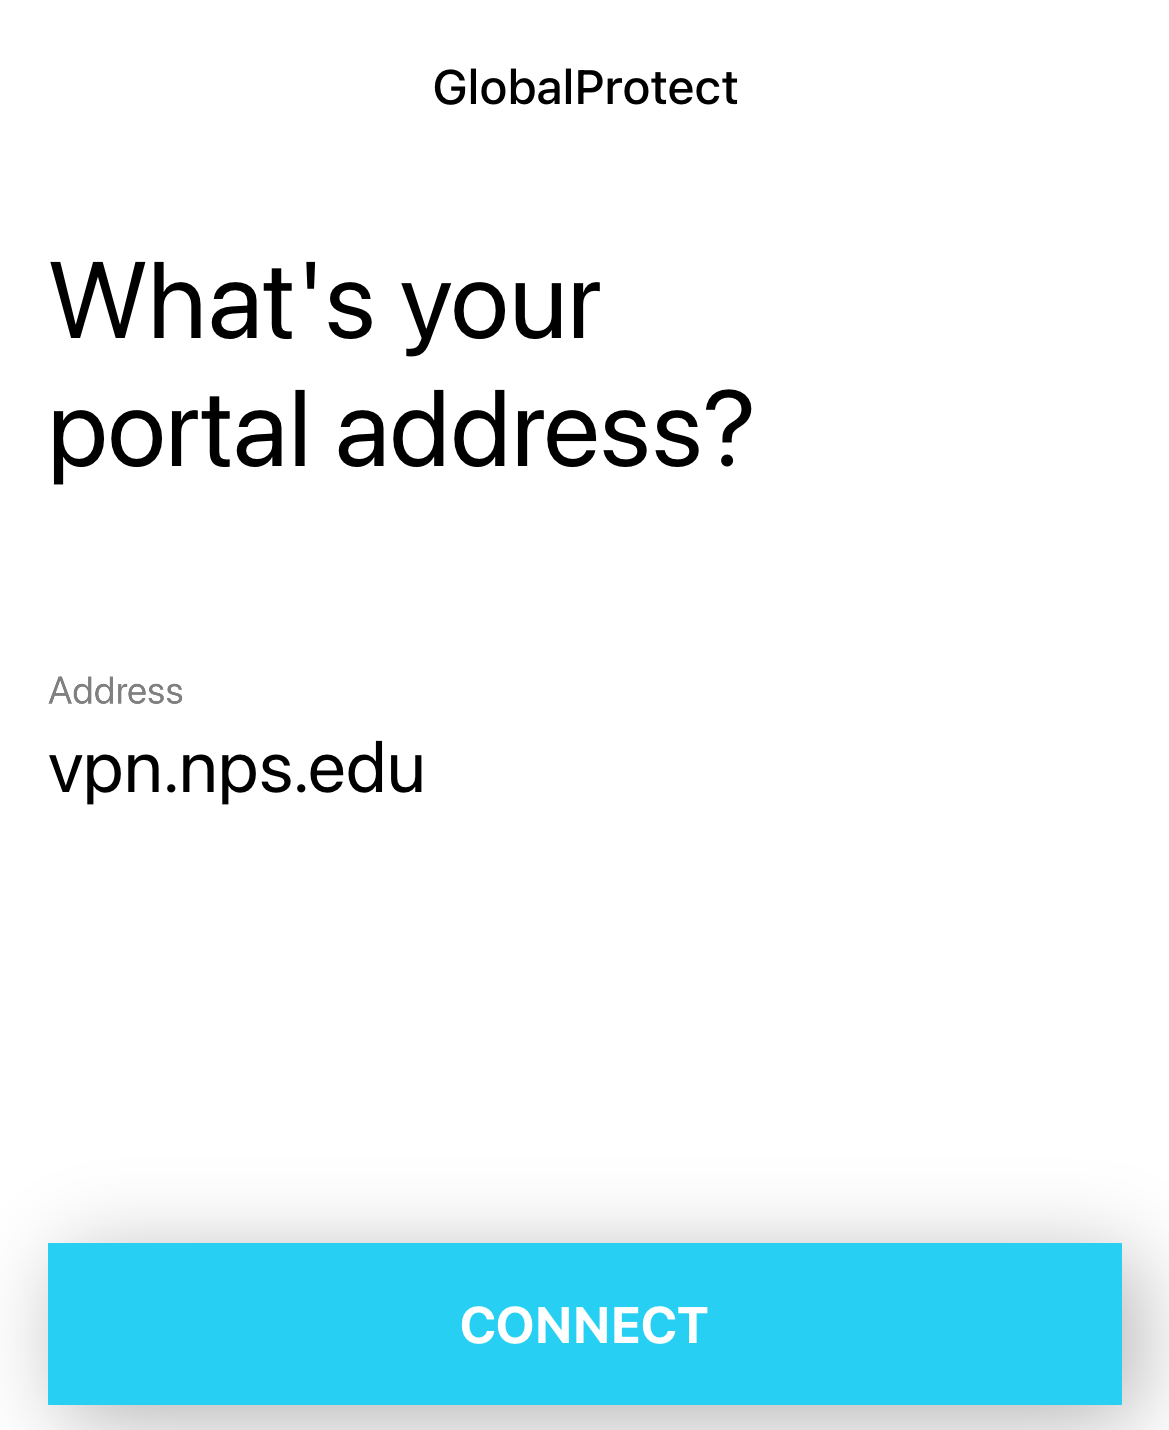
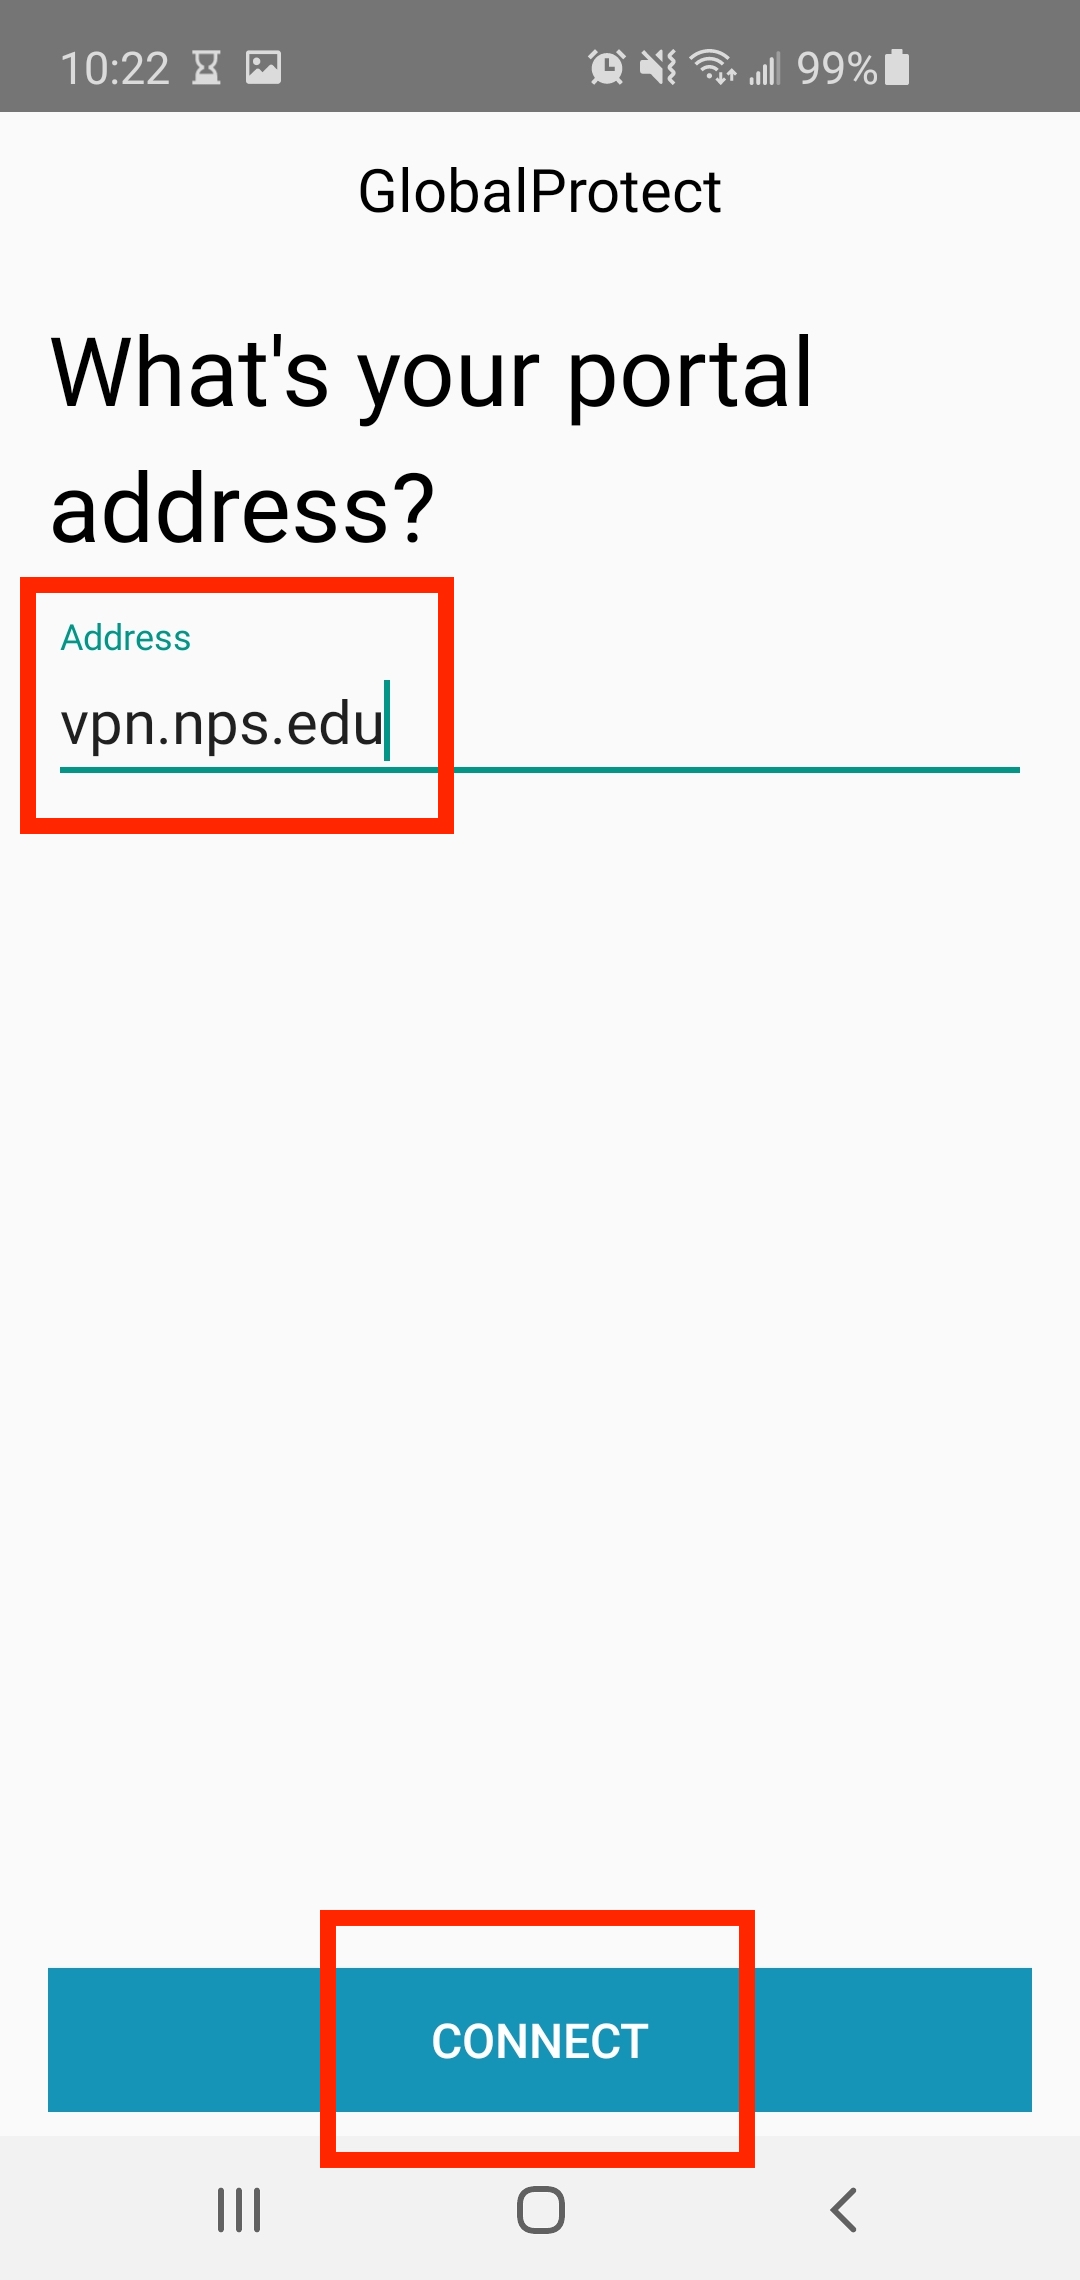
- Enter vpn.nps.edu as your portal Address and tap CONNECT.
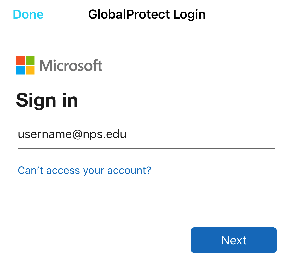
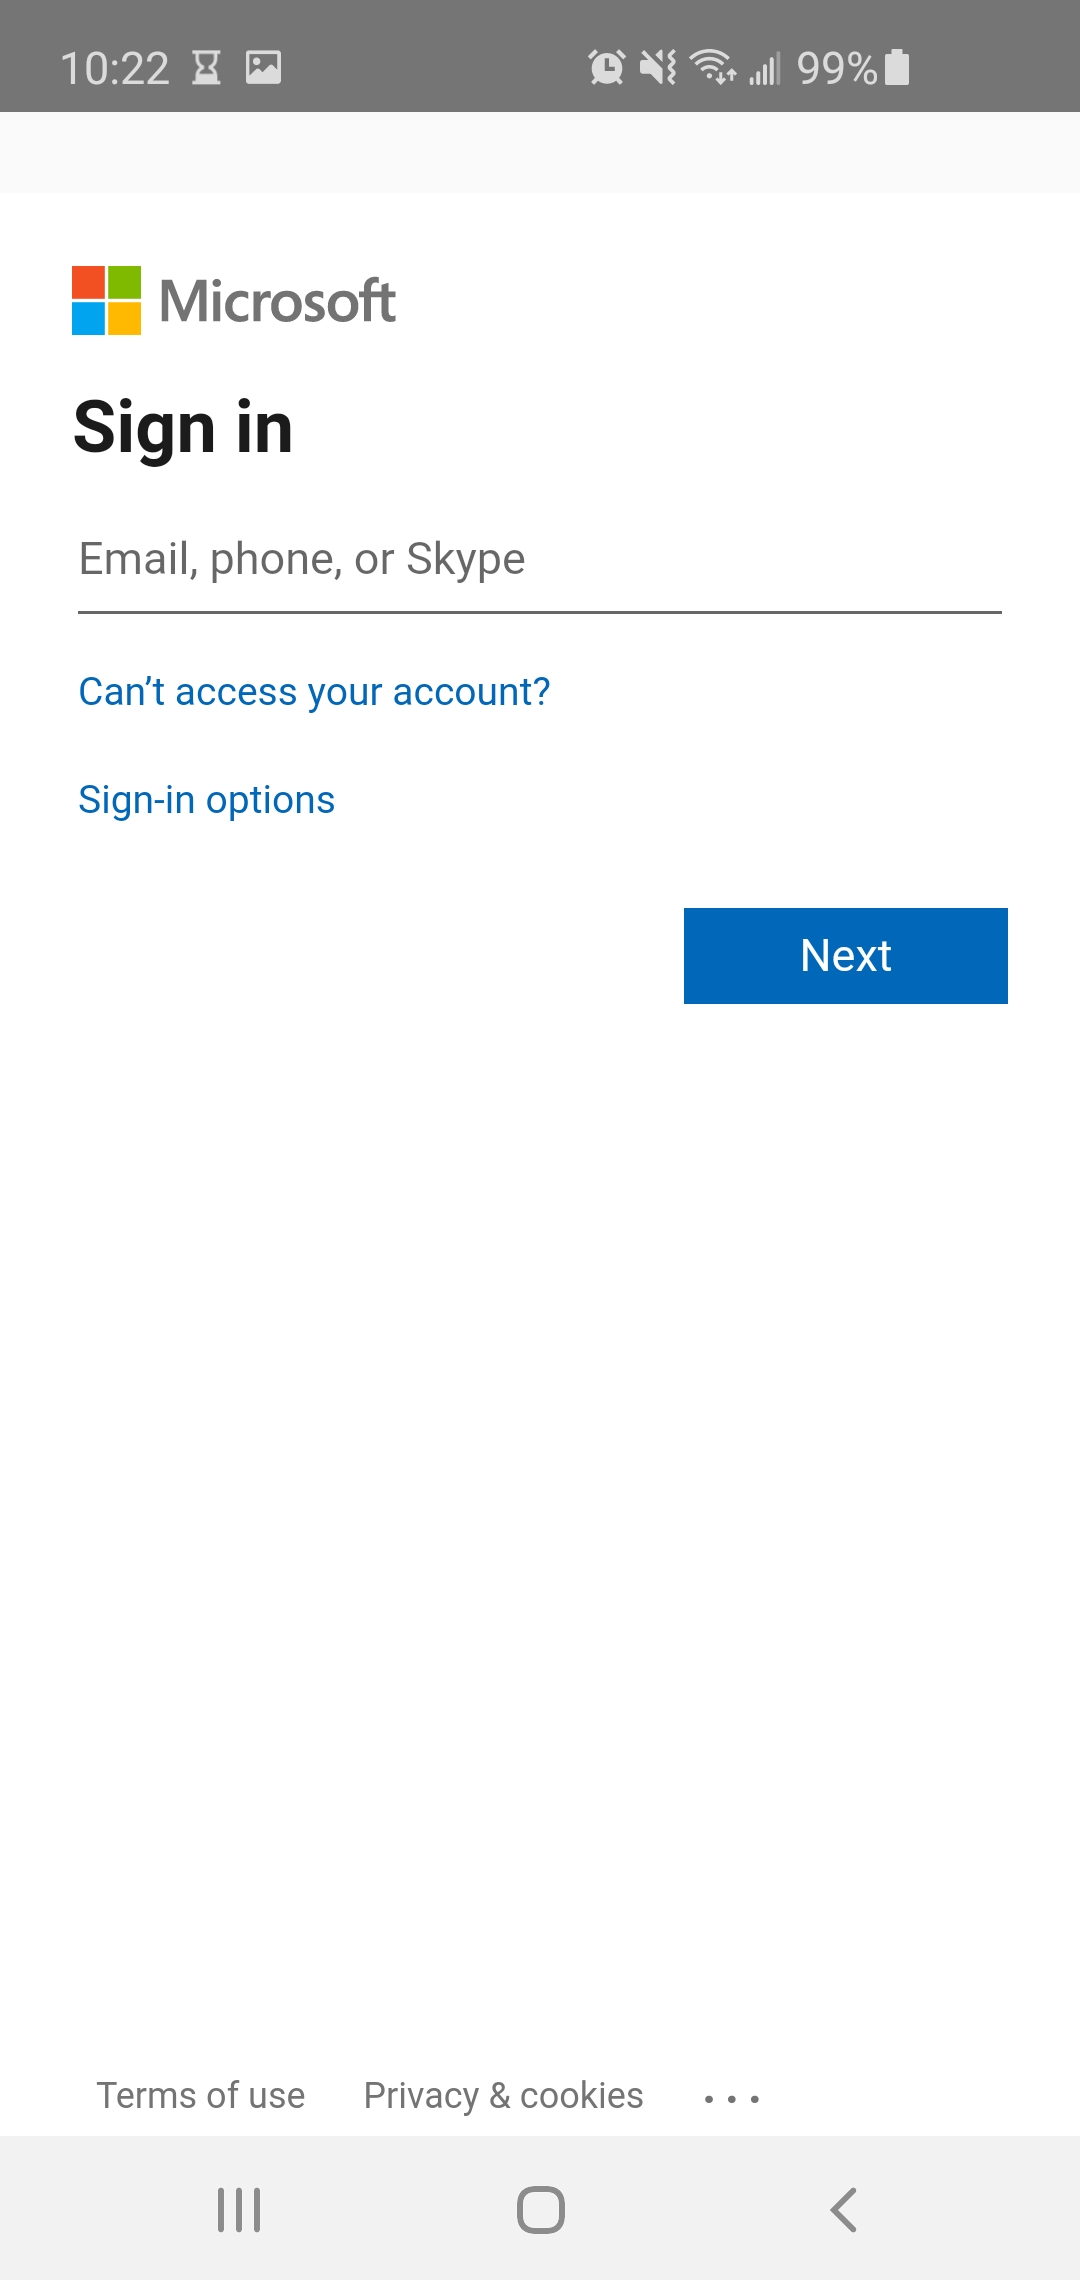
- Sign in with your NPS email credential and tap Next.
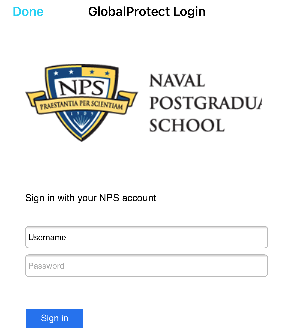
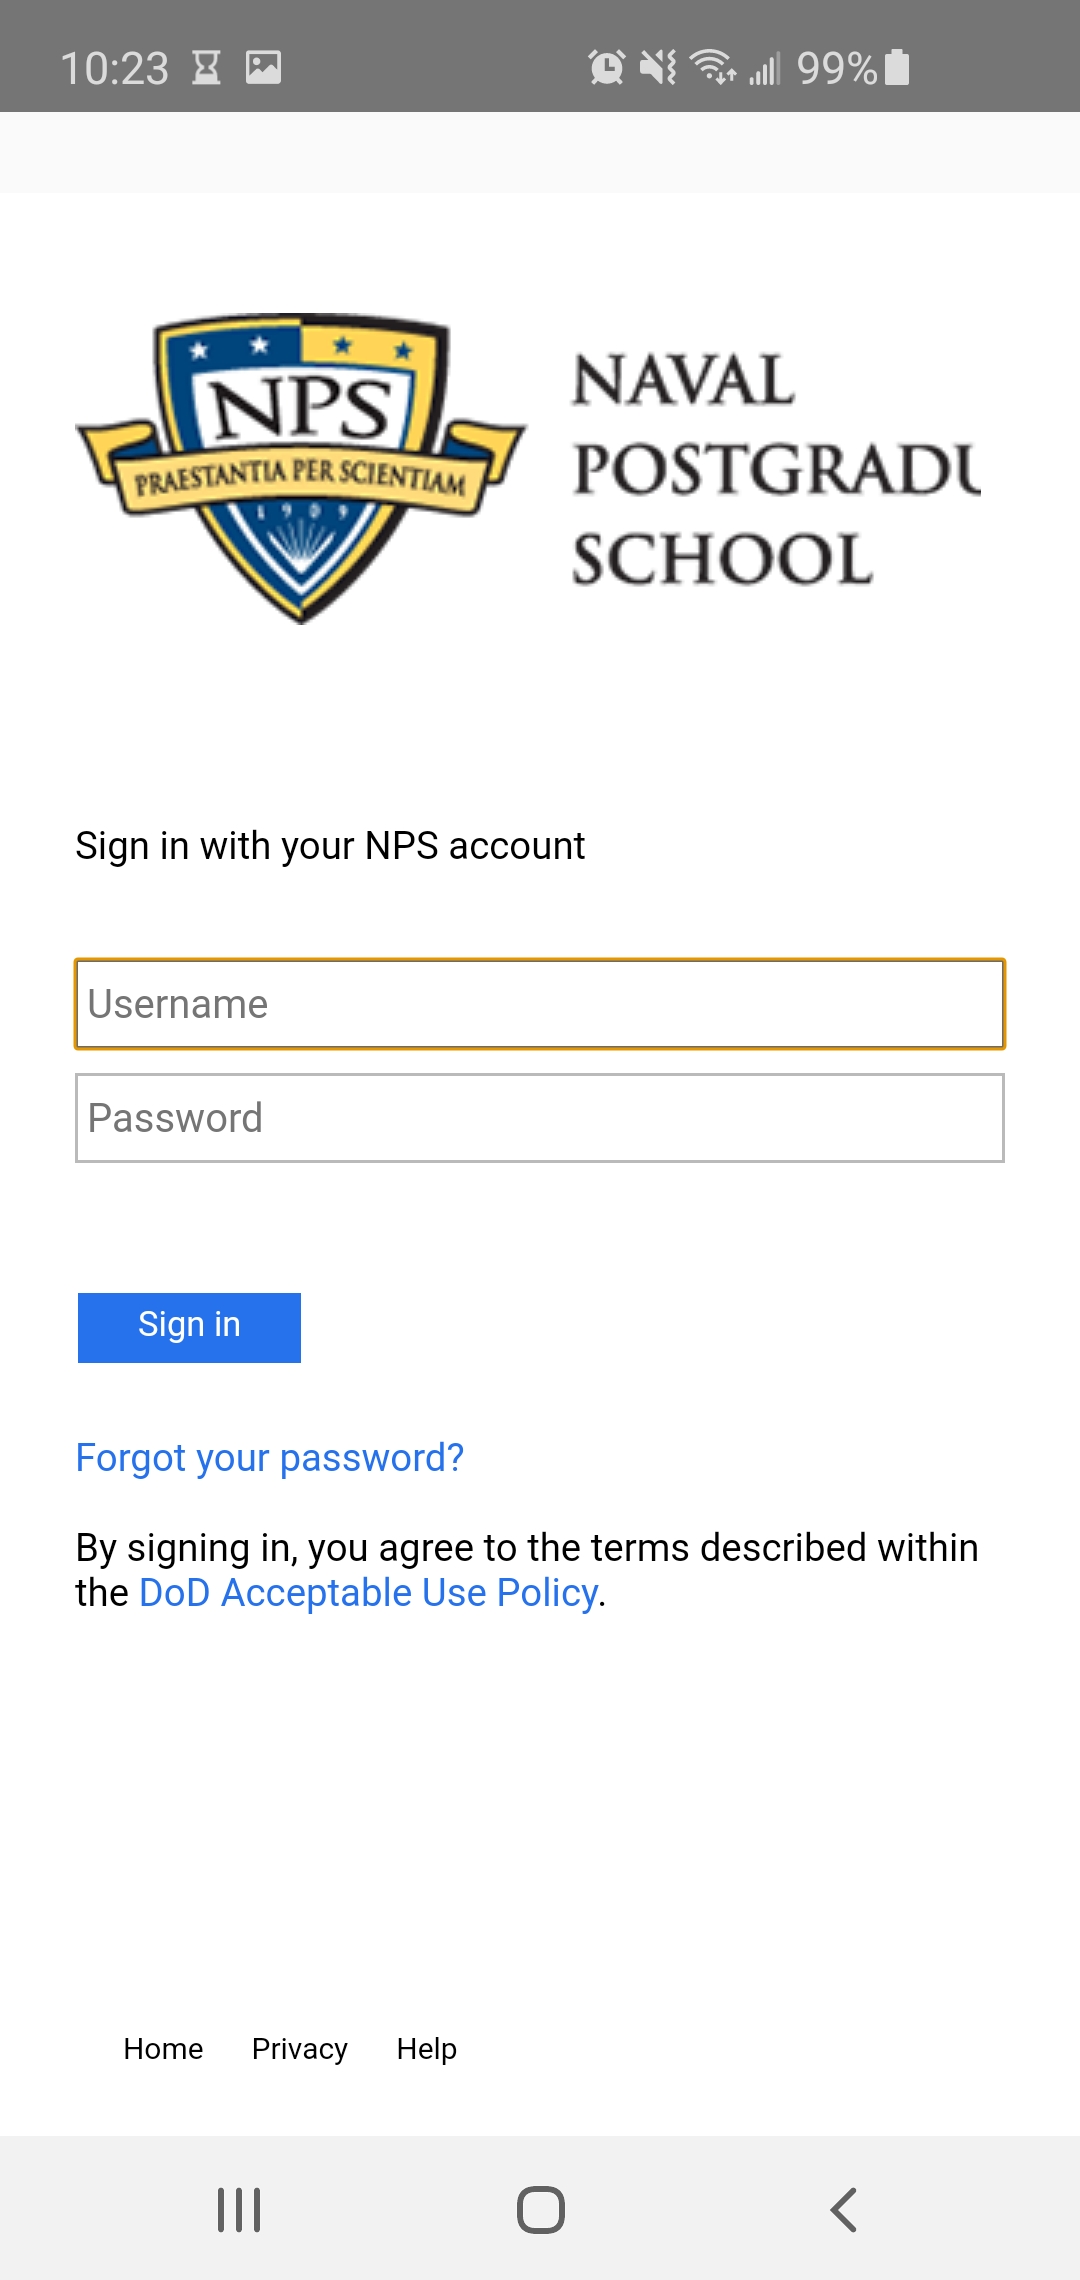
- Enter username without the @nps.edu with password and hit Sign in; after being redirected to our NPS organization sign in page.
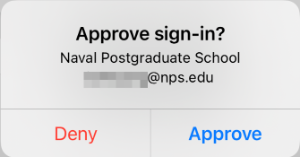
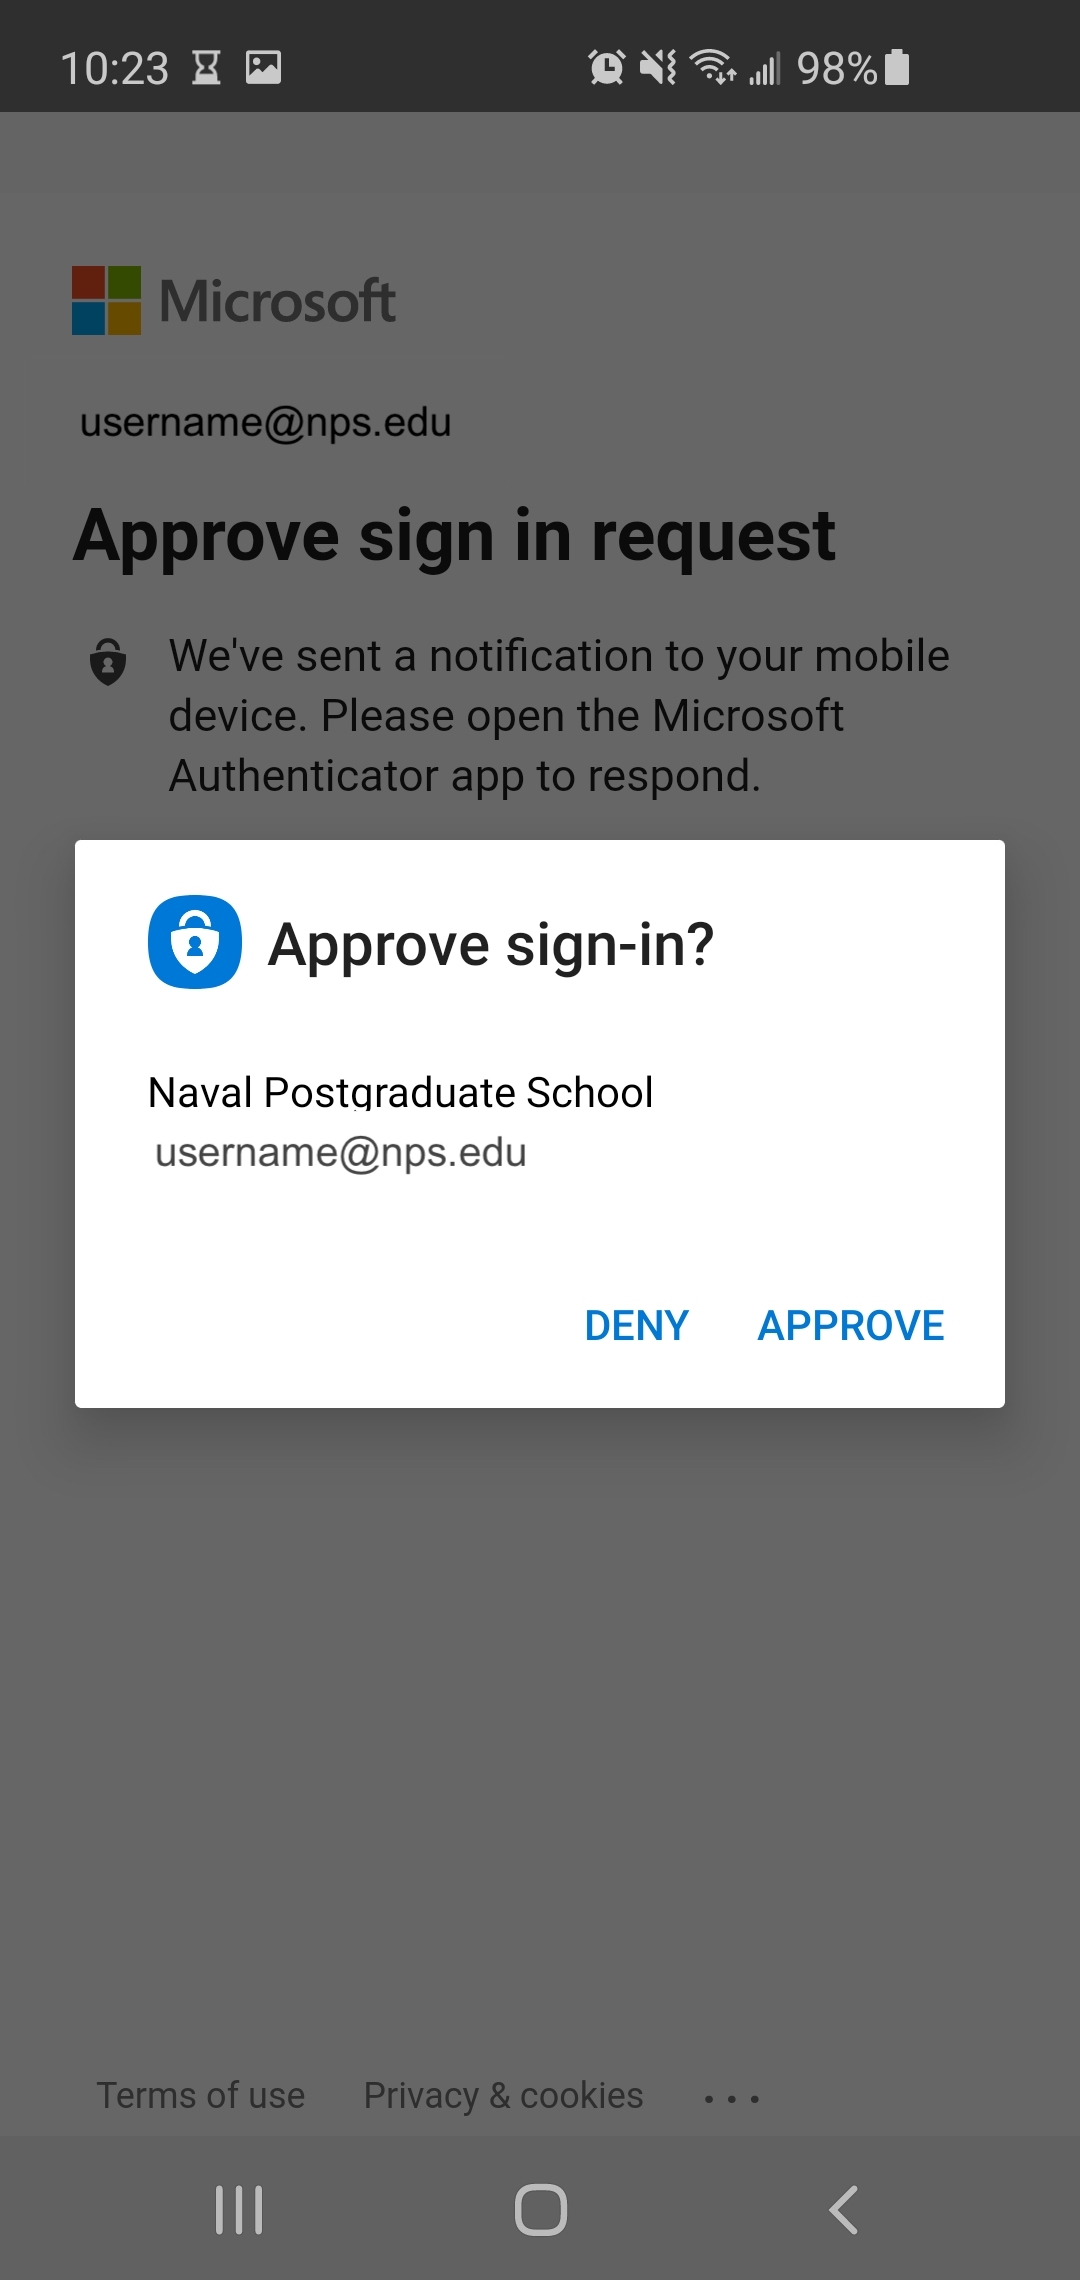
- Should get a push notification to Approve sign in request from Microsoft Authenticator App. Hit Approve.
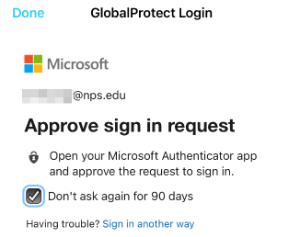
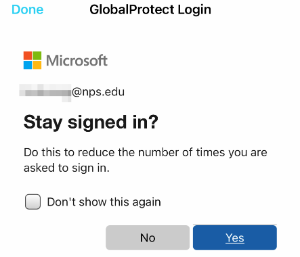
- Optional to Stay signed in. Hit either No or Yes depending on your preference.

-
This step is required before proceeding! Have SECURE YOUR ACCOUNT with MFA set up. Enroll a device in the MFA Self Enrollment Portal. More details on enrollment here.
-
Only continue if you completed step 1! Download the Global Protect app from the Play Store.
-
Open the app and enter vpn.nps.edu for the portal address. Click CONNECT.
- Enter your full email and click Next.
-
Enter your NPS username (not the whole email) and password. Click Sign In.
- Check the box that says Don't ask again for X days.
- Approve your MFA request.
- To stop using the VPN service, close your VPN session by clicking Disconnect on GlobalProtect.
- Since the portal is set up, reconnect again by clicking TAP TO CONNECT.

NOTE: These instructions assume that you are running a recent distribution with a GNOME or Unity desktop environment. Configuration on Plasma, XFCE, or Mate desktops should be similar. Since the logon happens via an embedded web browser, it is not possible to use this method to connect via the command line.
- This step is required before proceeding! Have SECURE YOUR ACCOUNT with MFA set up. Enroll a device in the MFA Self Enrollment Portal. More details on enrollment here.
-
Download and install the appropriate packages for your distribution:
Red Hat Enterprise Linux, CentOS, or Fedora Linux: GlobalProtect_rpm-5.3.3.0-4.rpm, GlobalProtect_UI_rpm-5.3.3.0-4.rpm, and ca-certificates-dod-5.11.1-1.noarch.rpmRHEL-family distributions
sudo dnf localinstall ~/Downloads/GlobalProtect_rpm-5.3.3.0-4.rpm ~/Downloads/GlobalProtect_UI_rpm-5.3.3.0-4.rpm ~/Downloads/ca-certificates-dod-5.9.1-2.noarch.rpmUbuntu, Debian GNU/Linux, or Linux Mint: GlobalProtect_deb-5.3.3.0-4.deb, GlobalProtect_UI_deb-5.3.3.0-4.deb, and ca-certificates-dod_5.11.1-1_all.deb
Debian-family distributions
sudo apt install libqt5webkit5sudo dpkg -i ~/Downloads/GlobalProtect_deb-5.3.3.0-4.deb ~/Downloads/GlobalProtect_UI_deb-5.3.3.0-4.deb ~/Downloads/ca-certificates-dod_5.9.1-2_all.deb
Other Distributions: GlobalProtect_tar-5.3.3.0-4.tgz and GlobalProtect_UI_tar-5.3.3.0-4.tgz -
If you are using the GNOME Desktop, install the
topicons-plusandgnome-tweakspackages:Red Hat Enterprise Linux or CentOS
pkcon install gnome-shell-extension-topicons-plus gnome-tweaksUbuntu or Debian GNU/Linux
sudo apt install gnome-shell-extension-top-icons-plus gnome-tweaks - Log out of your desktop session and log back in.
- A globe icon should appear in the top right corner of the panel on GNOME, or in the system tray on other desktops. Click this to launch the interface, and enter
vpn.nps.eduas the portal. - If you do not see the icon, search for the "Tweaks" application in the activities menu in the top left corner of the screen. Navigate to "Extensions" and ensure that "Topicons Plus" is enabled.
Desktops on newer Linux distributions have deprecated "tray" icons in favor of native app indicators and notifications. These are not yet supported by the official Globalprotect client.
If the interface does not appear after following these steps, you can still reach it by pressing ALT-F2 and enteringglobalprotect launch-uiin the box that appears.
Frequently Asked Questions (FAQs)
-
Why are we using Microsoft MFA?
Multi-factor authentication increases security. If an attacker gets your NPS username and credentials, they still do not have your phone to verify they are you. There are multiple ways that passwords can be stolen. Here is a great article discussing how easy it is for an attacker to get passwords (proving the need for multi-factor) called: Google study shows how your account is most likely to be hijacked.
- How often do I have to use Microsoft Authenticator?
You will only be prompted for Microsoft Authenticator every 90 days per app and device, no matter the number of connections throughout the day. The checkbox must be checked before accepting the MFA request.
a. -
Why am I not receiving Microsoft Authenticator notifications?
Try turning on notifications in the Microsoft Authenticator app settings. Try turning on notifications for the app in the phone settings. Your phone may be having networking issues. Verify you are connected to Wi-Fi or have data.
-
Can I install this on my personal laptop/desktop?
Yes.
-
Can I install this on my government owned laptop/desktop?
Yes, but if you receive permission errors when trying to install then you will need to contact the TAC at (831)656-1046 or ithelp@nps.edu.
-
Where can I find GlobalProtect after installation?
Windows users: You may search for it after clicking the Windows key on your keyboard.
MAC users: It generally appears on the top right of your screen, near the clock. If not, you can search for it in your Applications or search "GlobalProtect" in the Spotlight Search.
-
What does "Authentication failure: Invalid username or password" mean when I visit the site?
Either the user entered their username/password incorrectly, did not multi-factor authenticate with Microsoft Authenticator, did not enroll in Microsoft Authenticator, or they may need to re-sync their phone in Microsoft Authenticator via the MFA Self Enrollment Portal

-
What if I get one of these error messages: "System Extension Blocked" or "Cannot connect to server" from Palo Alto Networks? (Typically High Sierra problems)
Mac Users: Open System Preferences > Security & Privacy. Manually allow system extension(s) from "Palo Alto Networks". This is the company for the GlobalProtect VPN.
-
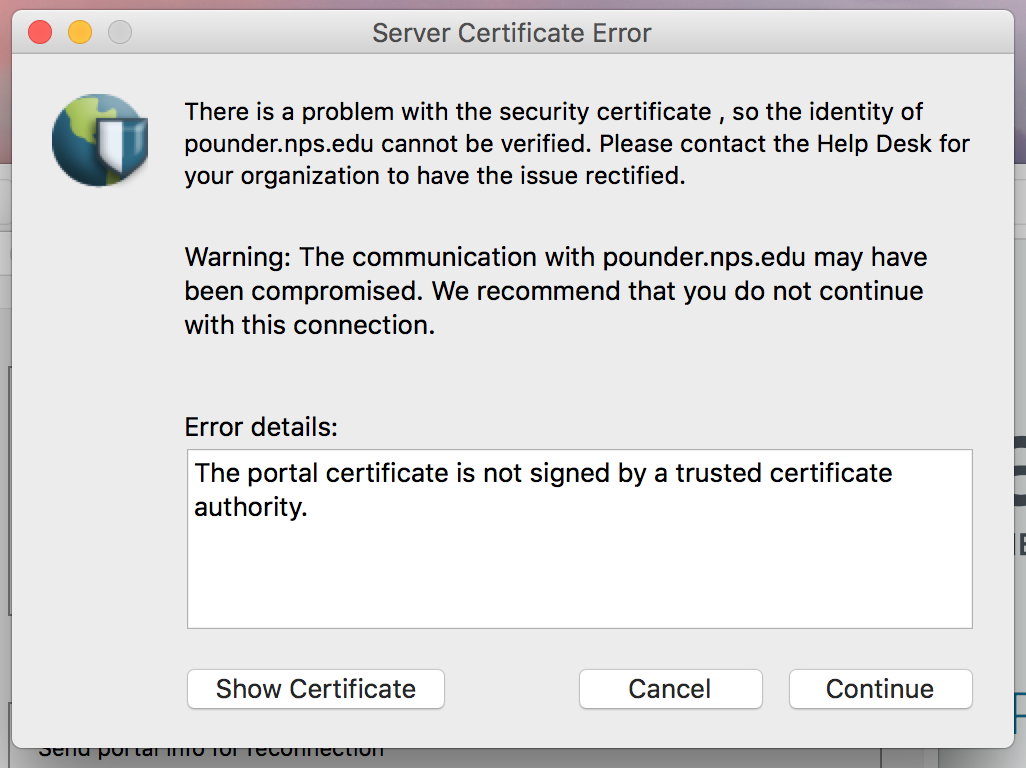
What if I get this error: "The portal certificate is not signed by a trusted certificate authority"?
You need to have the latest DoD certificates. MAC instructions. Windows instructions.
- What if I get this error message: "The code execution cannot proceed because mfc120.dll was not found"?
This is likely from Windows 7/8/10. User Access Control (UAC) was set too high. Turn off UAC. Re-run installer should be all the fix you need. Though, you may need to go into the GlobalProtect folder in Program Files and run repair installs on the two C++ redist’s for x64 and x86. You can’t just run as Admin because this is an MSI installer, which can’t be used to elevate admin privileges.
- What if I get this error message: "An old GlobalProtect instance exists, new instance cannot be started!" (seen on mac)?
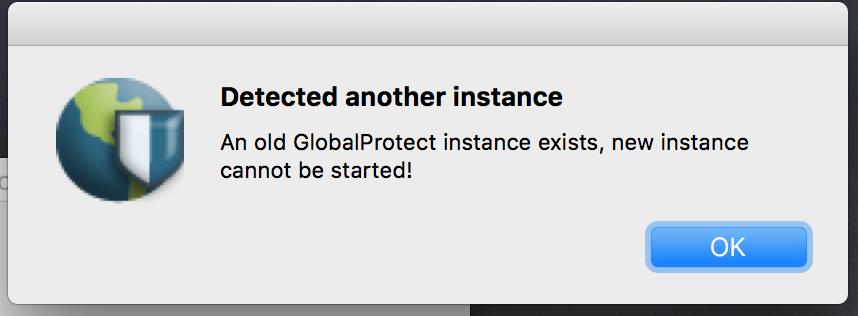
You must remove the other instance of GlobalProtect. Go to System Preferences > Users & Groups > Login Items. Click on the GlobalProtect item. Click the minus sign (-) below the list of items.

Known Issues
- No current known issues.
Need Assistance?
If you have any issues connecting to something on our network, please email the Technology Assistant Center (TAC) at ithelp@nps.edu with detailed information.